Running a Full Bitcoin Node with Lightning Integration
 I recently got back into cryptocurrency and decided to embark on a project I hadn’t considered before: setting up a full Bitcoin node integrated with the Lightning Network. It’s a time and resource-intensive endeavor. While I’ve run full nodes on smaller projects in the past, my curiosity about Lightning transactions on the Bitcoin network led me to tackle this project.
Initially, I thought about using a Raspberry Pi, but I opted for a RockPi. Setting up a Bitcoin node is typically straightforward. You download the right code for your device and run it. However, I’d recommend a more robust system, as I’ll explain shortly.
Running the source code was simple, but I had to be cautious because I was using external storage. Leaving the Bitcoin daemon running on a device without adequate storage can cause issues. I didn’t want to risk wearing out an SD card running Debian or overloading it with blockchain data, potentially causing Linux to crash. So, I picked up a 1 TB external HDD from Walmart. It’s not the fastest option, but it works for my needs. For better performance, I’d suggest an external SSD for most users. After getting the HDD, I formatted it with the ext4 filesystem and set up a udev rule to ensure it automatically mounts on boot.
With the external HDD in place, I had a secure location to store all the blockchain data. Next, I needed to configure my bitcoin.conf file with these settings:
datadir=/home/rock/External/BitcoinDB
rpcuser=XXXXXXXXXXXXXXXXXXX
rpcpassword=XXXXXXXXXXXXXXXXXXXXXX
server=1
txindex=1
rpcallowip=127.0.0.1
zmqpubrawblock=tcp://127.0.0.1:28332
zmqpubrawtx=tcp://127.0.0.1:28333
zmqpubhashtx=tcp://127.0.0.1:28332
zmqpubhashblock=tcp://127.0.0.1:28332
dbcache=2000
- The
datadirsetting designates the external HDD as the storage location for essential wallet and chain data. - The
rpcuserandrpcpasswordsettings are vital for creating a web-based dashboard and integrating Lightning Network features. - The
zmqsettings are also essential for Lightning.
Given that my RockPi had 4 GB of RAM, I allocated 2 GB to expedite the synchronization process.
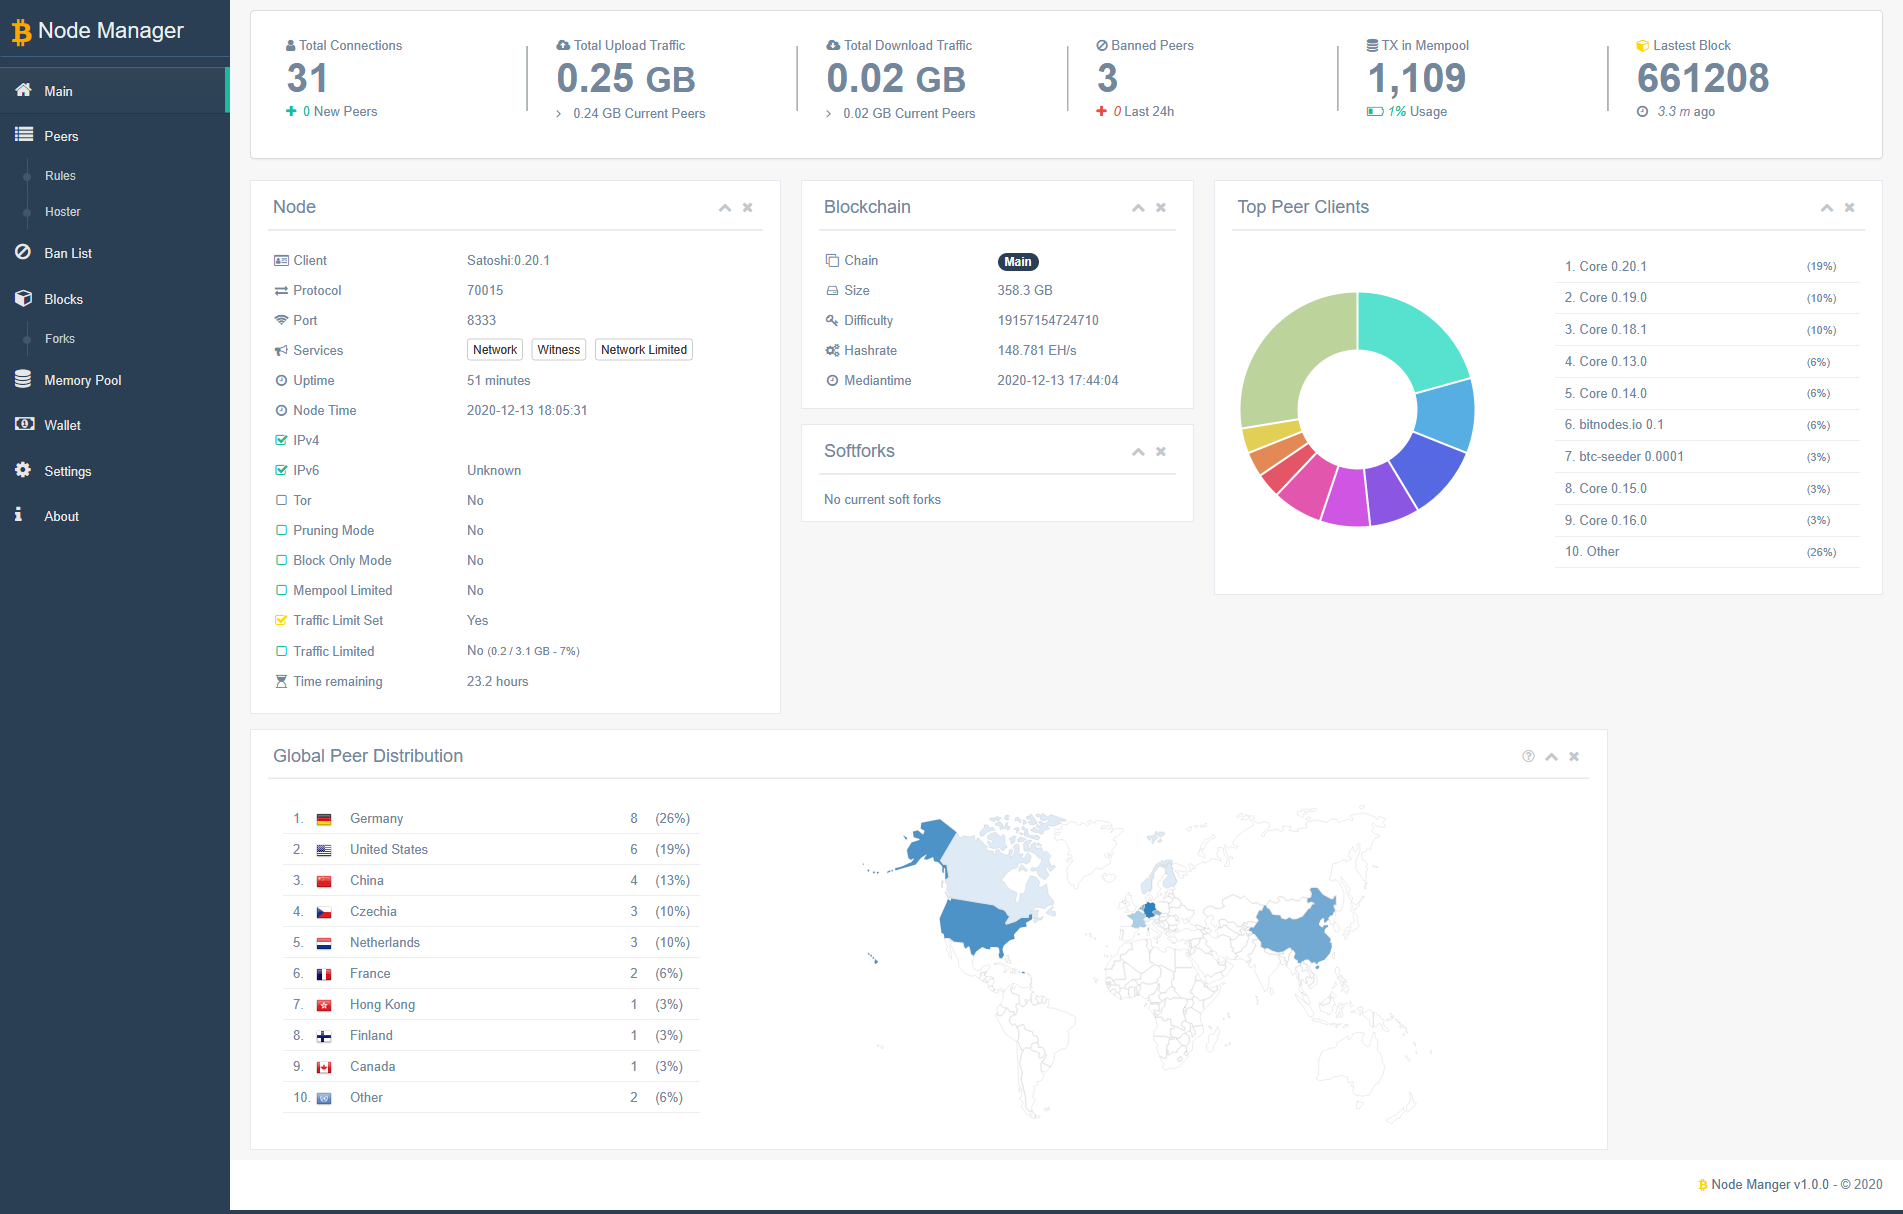
To monitor my Bitcoin node’s performance from a web server, I discovered a suitable option at https://github.com/Mirobit/bitcoin-node-manager. Configuring it proved challenging, requiring some thought. I installed all the necessary components but encountered a “403 Forbidden” error in Nginx.

Ultimately, I resolved the issue by making permission adjustments to the dashboard and ensuring proper PHP functionality. The login page displayed correctly, but I encountered an error involving an undefined function. This was a simple fix—installing php7.4-curl resolved the issue.
With these adjustments, I had a functional dashboard that displayed the parameters I wished to monitor.
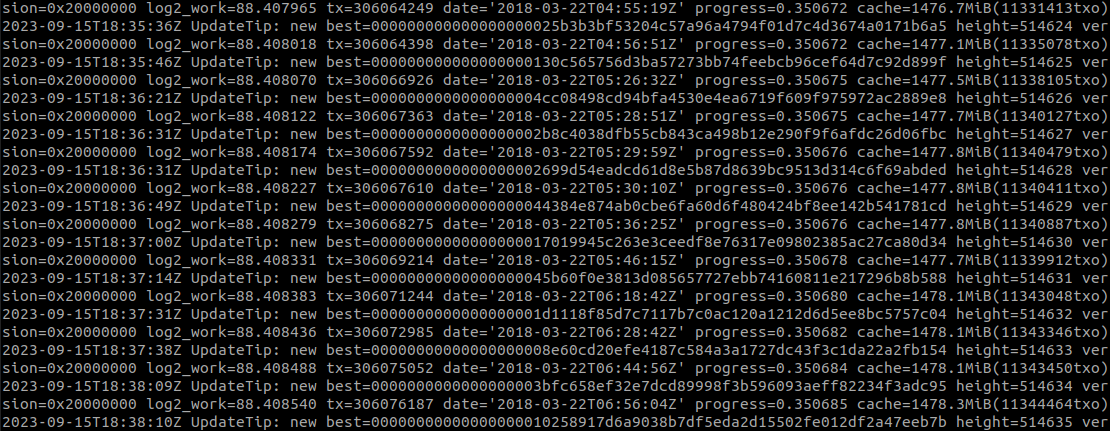
It’s important to note that Bitcoin synchronization can be exceedingly slow, particularly with suboptimal network connections and limited hardware resources. In my case, the RockPi with only 4 GB of memory posed limitations. To address this, I created a script for on-demand progress reports:
#!/bin/bash

# Define the most recent block number
most_recent_block=806381

# Get the current block number
current_block=$(bitcoin-cli getblockcount)

# Calculate the progress percentage
progress=$(echo "scale=2; ($current_block / $most_recent_block) * 100" | bc)

# Display the progress as a percentage
echo " "
echo "Bitcoin Block Download Progress: $progress%"
echo " "
echo "External drive info:"
du -sh ~/External/
echo " "
It’s not the fanciest script, but it serves my purpose well. I manually defined most_recent_block, fetched current_block from the bitcoind daemon, did some simple math, and displayed progress along with external HDD storage info. Note that this script is for initial synchronization and may not be needed once the node is fully synced.
This project is still a work in progress, and I’ll update this page as I make further advancements.